
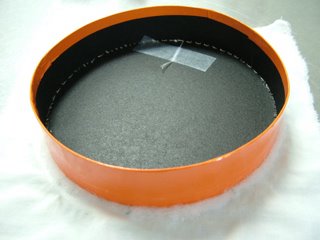
Step 2: Baste padding to reverse of embroidery.

Step 3: Stitch embroidery to box top with strong thread, keeping the fabric stretched as you stitch. Run a gathering stitch around the excess fabric to draw it up.
Step 4: Add a wide ribbon (not very successfully) to cover the edges of the fabric. This is the step I am least satisfied with -- the ribbon is a bit wrinkly. I may need to rethink this. My stepdaughter, the Drama Queen, suggested using a narrower ribbon and wrapping it around several times, which is one option. Only I am not going anywhere near Bondi Junction on Christmas Eve, so a trip to Spotlight will have to wait until after the festive season.

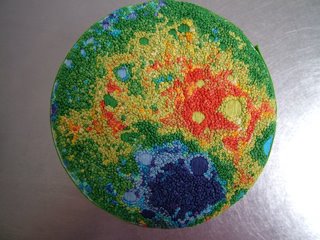
Step 5: Fill box with moonstones (thanks for the idea, Maureen).
1 comment:
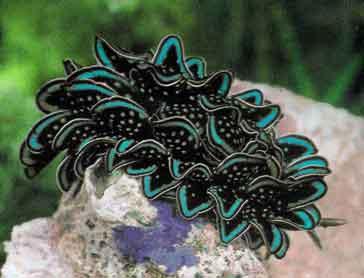
Beche, this reminded me of an interpretation I did a while ago of yeast under a microscope from an illustration in New Scientist Magazine. I'll put it on my blog.
Post a Comment